Email Marketing
How to Embed a Table from a Spreadsheet in an Email
May 11, 2015
Embedding a simple spreadsheet table in an email should be pretty easy, right? Unfortunately, it’s not quite as easy as it could be.
There’s any number of reasons why you’d may want to share a simple data table with your email contacts. You may be sharing upcoming schedules, financial reports, or itineraries. Simple spreadsheet tables are a powerful means of displaying a large volume of structured information. Unlike web pages which can easily host tables, email is not particularly hospitable to displaying complex data formats like tables.
Attempting a simple copy/paste operation from a spreadsheet isn’t the right solution. In fact, this method is more likely to result in a time-consuming, unsuccessful formatting nightmare than anything that’s even close to presentable.
The Quick Solution to How to Embed a Table from a Spreadsheet
The absolute easiest way to add a spreadsheet data table to the body of your email isn’t by copying and pasting. It’s actually taking a screenshot of your data, and embedding the resulting image into the body of your email. It’s a work-around, but it’s simple enough that virtually anyone can succeed.
Step #1 Take a Screenshot of Your Data Table
Mac Users: Use Command + Shift+4 to select the region want to capture (i.e. the table you want to embed in your email). On your desktop, there will be a new .png file which contains “screenshot” and that you’ll use to upload.
PC Users: Press Alt+Print Screen by holding down the Alt key and then pressing the Print Screen key. Save the file in a location and name of your choice.
It’s best to enhance your image for sharing via email by cropping any extraneous blank space from around your data table using basic photo editing capabilities.
Step #2: Embed the Image in Your Email
Adding your new screen cap to your email is as easy as embedding an image. If you are using Flashissue simply select the “Image” block option under the template section titled “Add content to your email:”

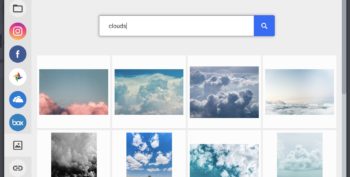
Then start the image uploader by clicking Add Image:

Select your screen capture image from your desktop.
When you are satisfied with the appearance of your spreadsheet table image, click “save” to add the embedded spreadsheet image to your email:

Step #3: Hot Tip: Link to the Original Image
Linking the image to the original spreadsheet isn’t required, but it’s certainly a nice gesture, particularly if you’re sharing complex information that your contacts may want to save.
Simply hover over the image, and click “link” to direct your recipient towards a Google Spreadsheet or Dropbox download link:

Continue reading


